WebLOAD Quick Start Steps
Quick Start Steps
6
RadView Software
Quick Start Steps
This quick start shows you how you can get started quickly using the RadView Software test site
at www.netizenbanking.com (
). Then you can refer to the
complete WebLOAD documentation set to learn more techniques for using WebLOAD.
In this Quick Start, you perform the following steps:
1.
Create an Agenda (see Creating an Agenda (on page
2.
Configure a load template using the WebLOAD Wizard (see Configuring a Load Template
using the WebLOAD Wizard (on page
3.
Configure session options (see Setting Session Options (on page
4.
Run a test (see Running the Test (on page
5.
Analyze test results (see Analyzing Test Results (on page
)).
Note: We recommend that you follow the steps in order. All examples are interrelated and
dependent on earlier steps.
Creating an Agenda
The first step in creating an Agenda is to record your actions as you interact with your Web
application.
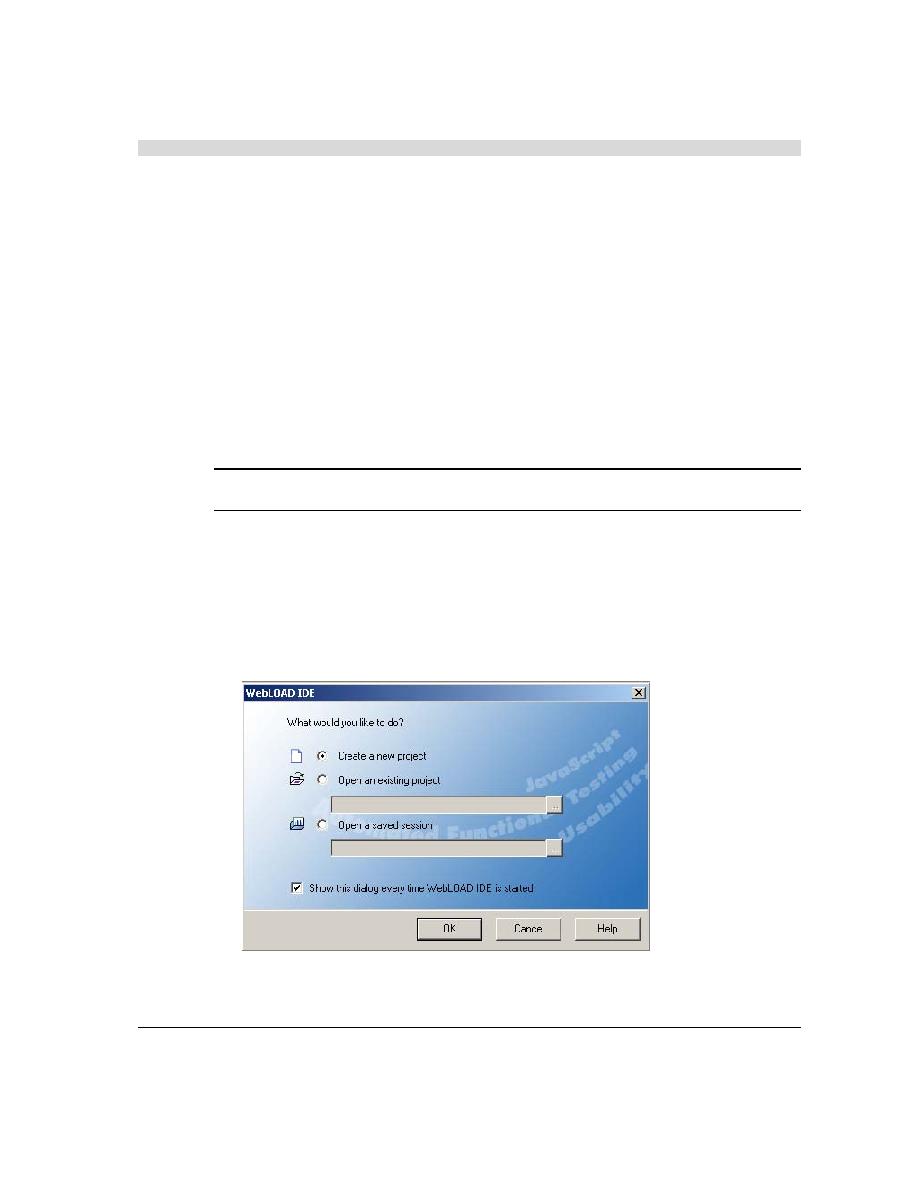
1.
Start WebLOAD IDE by selecting Start | All Programs | TestView | WebLOAD IDE.
WebLOAD IDE opens.