Using the Mark command
command
it (File/Open Project.) If you have not created this project yet, please
see
(Web): If gmow.pln is not already open, expand the Plan folder on the
Files tab and double click gmow.pln.
(client/server): If gmoc.pln is not already open, expand the Plan folder
on the Files tab and double click gmoc.pln.
(Web): Click anywhere in the test description Verify all text fields are
empty.
(client/server): Click anywhere in the test description Verify Update
pushbutton is disabled.
Click Testplan/Mark. The black stripe in the left margin indicates the
test is marked.
Click Run/Run Marked Tests. SilkTest runs the marked test and
generates a results file.
Query command
testcases based on those attributes. This exercise shows you how to run
testcases based on these attributes.
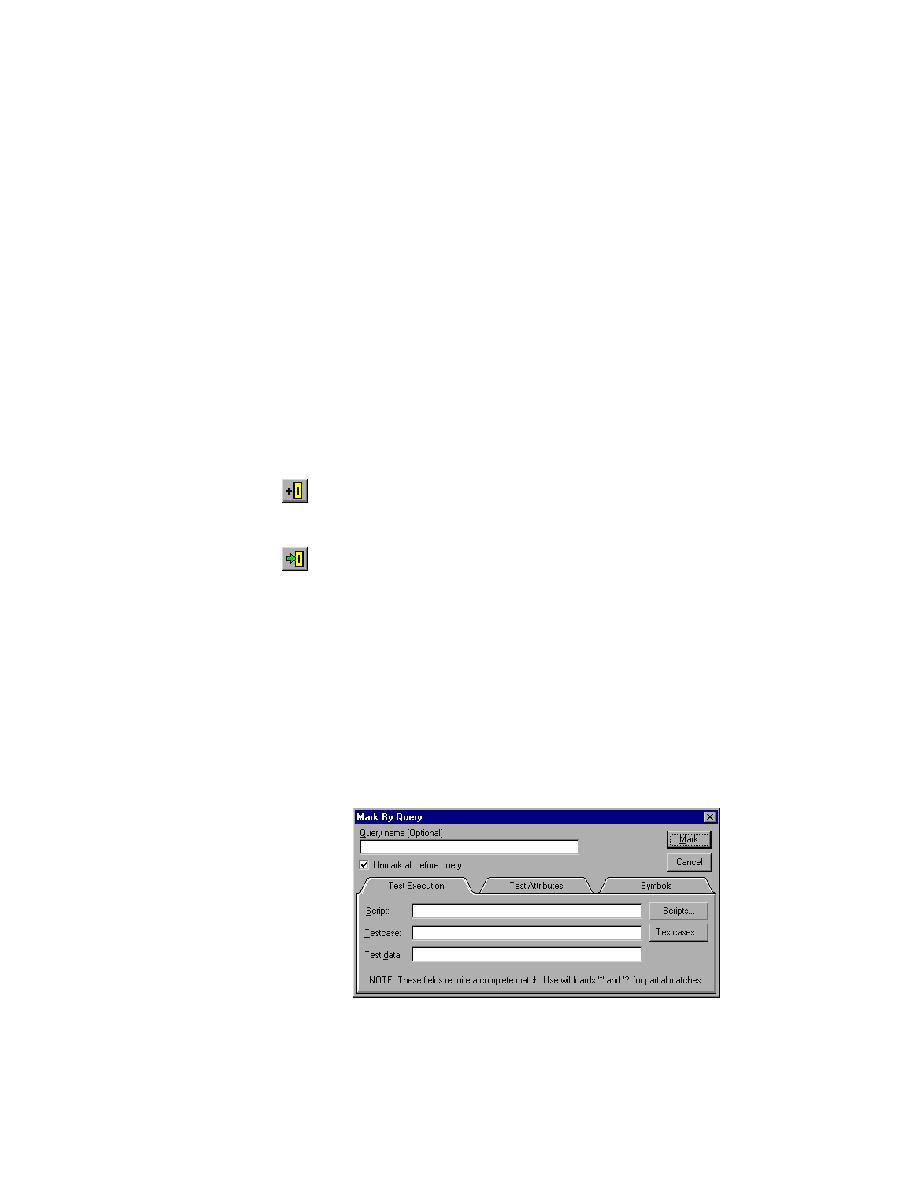
Make the testplan the active window. Click Testplan/Mark by Query.
SilkTest displays the Mark by Query dialog, as shown in the following
figure: