<< Bitmap Tool - How to create a mask that excludes all differences | Bitmap Tool - user-created mask >>
Bitmap Tool - How to create a mask that includes selected areas
<< Bitmap Tool - How to create a mask that excludes all differences | Bitmap Tool - user-created mask >>
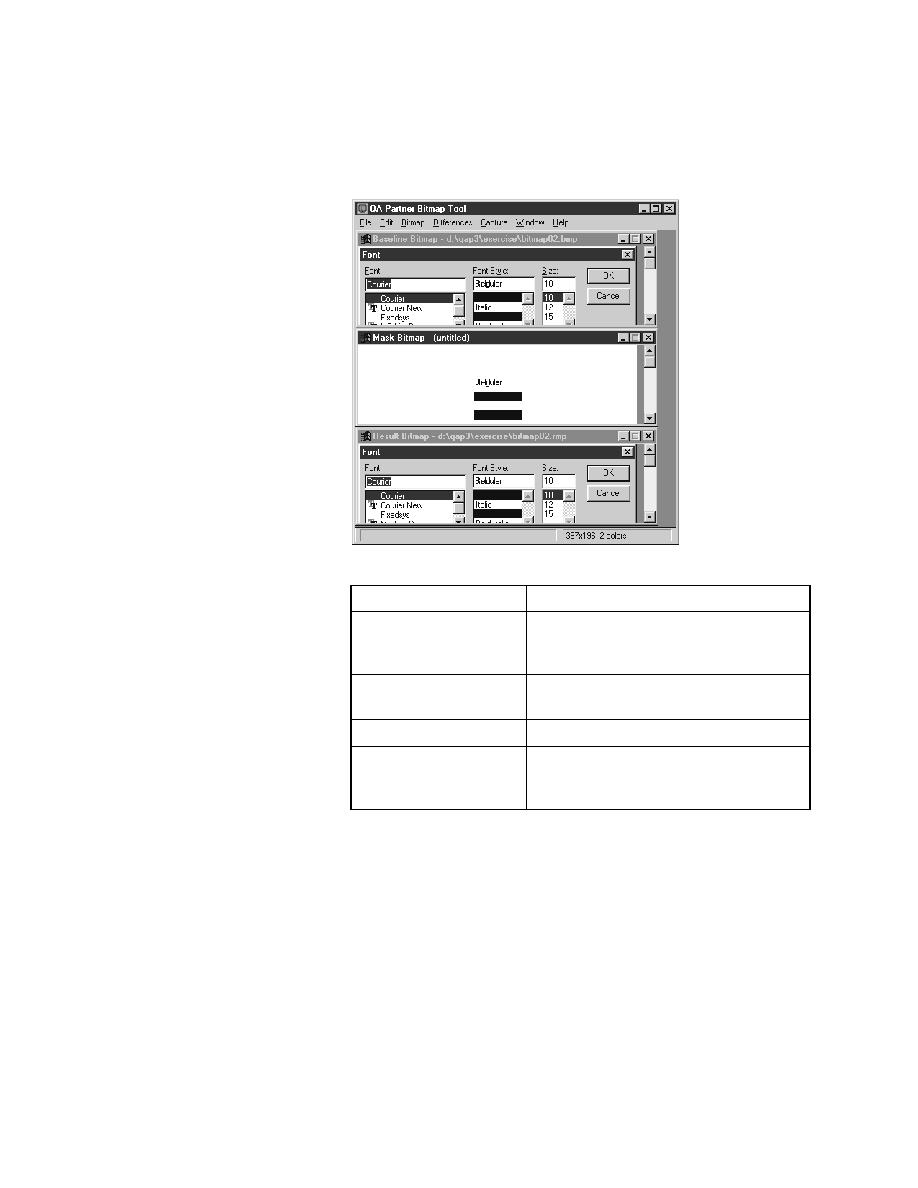
that includes selected
areas
apply it:
same size as the baseline bitmap.
result bitmaps with the
mask applied
permanent part of the bitmap files.
optional.
window (which unapplies the mask). See
"How to edit an applied mask" on page 423.