background image
<< Bitmap Tool - user-created mask | Calling Windows DLLs From 4Test Scripts >>
Bitmap Tool -How to apply a mask
<< Bitmap Tool - user-created mask | Calling Windows DLLs From 4Test Scripts >>
User's Guide
423
23 U
SING
THE
W
INDOWS
B
ITMAP
T
OOL
Creating and applying masks
5
Select Edit/Apply Mask.
The bitmap tool applies the mask to the result bitmap and closes the
Differences window.
6
Choose one of the following actions:
How to apply a mask
Procedure To apply a saved mask:
1
Open the mask bitmap file, if not open, and select Bitmap/Set Mask.
2
Select Edit/Apply Mask.
How to edit an applied
mask
You can edit a mask after it has been applied:
·
To add to the mask, place the mouse cursor in the baseline bitmap
window at the position where you want to begin adding to the mask. As
you press and hold the left mouse button, drag the mouse cursor to
outline a rectangle. Then release the left mouse button.
·
To delete part of the mask, place the mouse cursor in the baseline
bitmap window at the position where you want to begin deleting part of
the mask. While pressing and holding the Shift key, drag the mouse
cursor over the area of the existing map that you want to delete, and then
release the Shift key and the left mouse button.
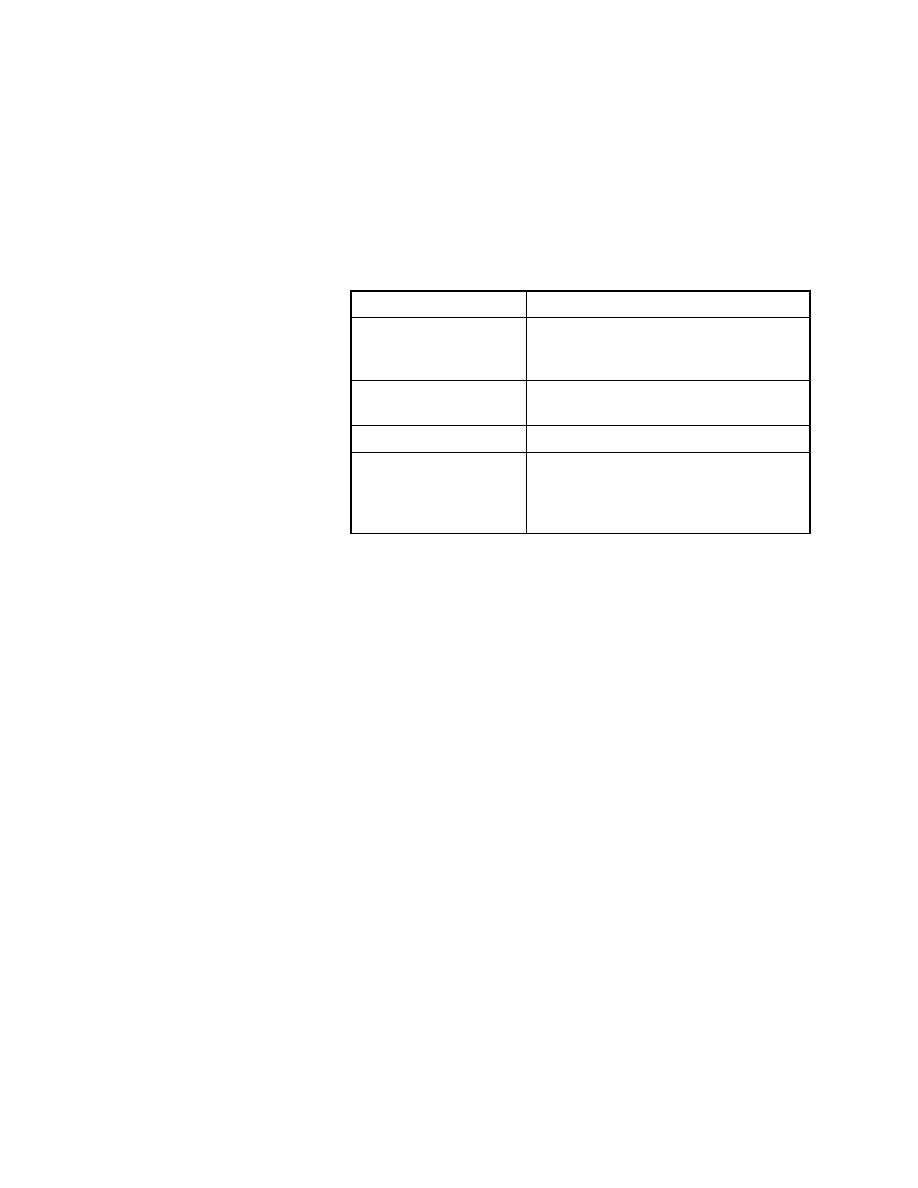
If you want to
Then
Keep the baseline and
result bitmaps with the
mask applied
Save the bitmap files. The mask is now a
permanent part of the bitmap files.
Unapply the mask
Close the mask bitmap window. Saving is
optional.
Keep the mask as it is
Save the mask file.
Edit the mask
Close the mask bitmap window (which
unapplies the mask), but save the file when
prompted. See "How to edit an applied mask"
below.