background image
<< Beyond a Logon Dialog Box | Mapping Alternative Paths in an AUT >>

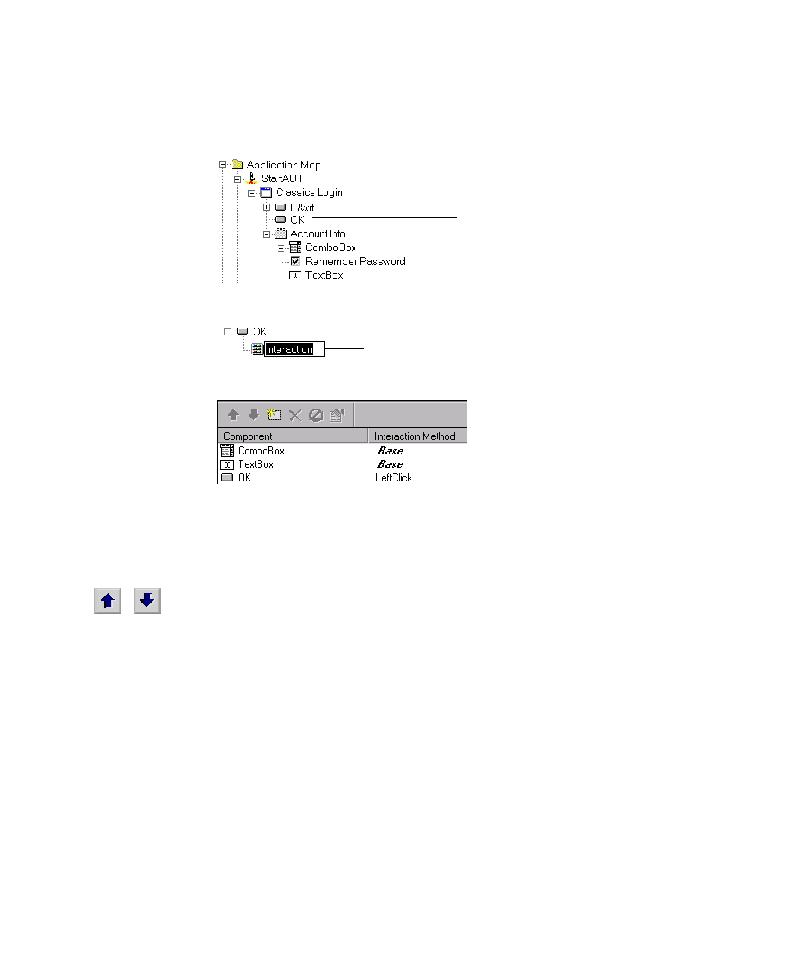
The Classics Login application map

Developing and Working with the Application Map
4-38
3. In the application map, click the UI object mapped for the last control involved
in the navigational path to expose more user interface. (In the Classics Login
application map, the OK button object is the appropriate selection.)
4. Type a name for the interaction object in the active text box.
5. Add all of the components necessary for the interaction to the interaction object.
6. Set the interaction method for each component that requires a specific action.
Specify a required string case for the styles of each input-type component. (In
the Classics example, you would specify required string cases for the Base style
assigned to the ComboBox and TextBox components.)
7. To set the interaction order for a component, click the component name, and
then use Move Up and Move Down on the Interaction Object toolbar to change
its order in the list.
8. Remap the AUT from the <<Root>> object.
TestFactory passes the required string cases to the AUT. Supplied with the necessary
logon information, the Application Mapper can access and map more of the
user interface.
Although using an interaction object is the most convenient and flexible way to map
beyond a logon dialog box, you can also do it by modifying the UI object properties
for UI objects in the application map. For information about modifying UI object
properties to direct mapping, see Using UI Object Properties to Specify Input and
Interaction Order for Mapping
on page 4-41.
OK button
Type a name for the interaction object here.