Settings on the Exclude Tab
Setting Up and Running Pilots
5-7
3. To stop a Pilot run after a specified number of defects are detected, leave the
Defects found check box selected and enter a target number in the adjacent box.
4. To change the code coverage target value, leave the Code Coverage check box
selected and enter a new value in the adjacent box.
5. To change the UI coverage target value, leave the UI Coverage check box
selected and enter a new value in the adjacent box.
If the goal of the Pilot run is to achieve high code coverage, consider excluding
UI coverage as a stop criterion. If the Pilot has access to only a small region of
the AUT, its scripts can achieve 100% UI coverage long before they achieve the
maximum code coverage possible.
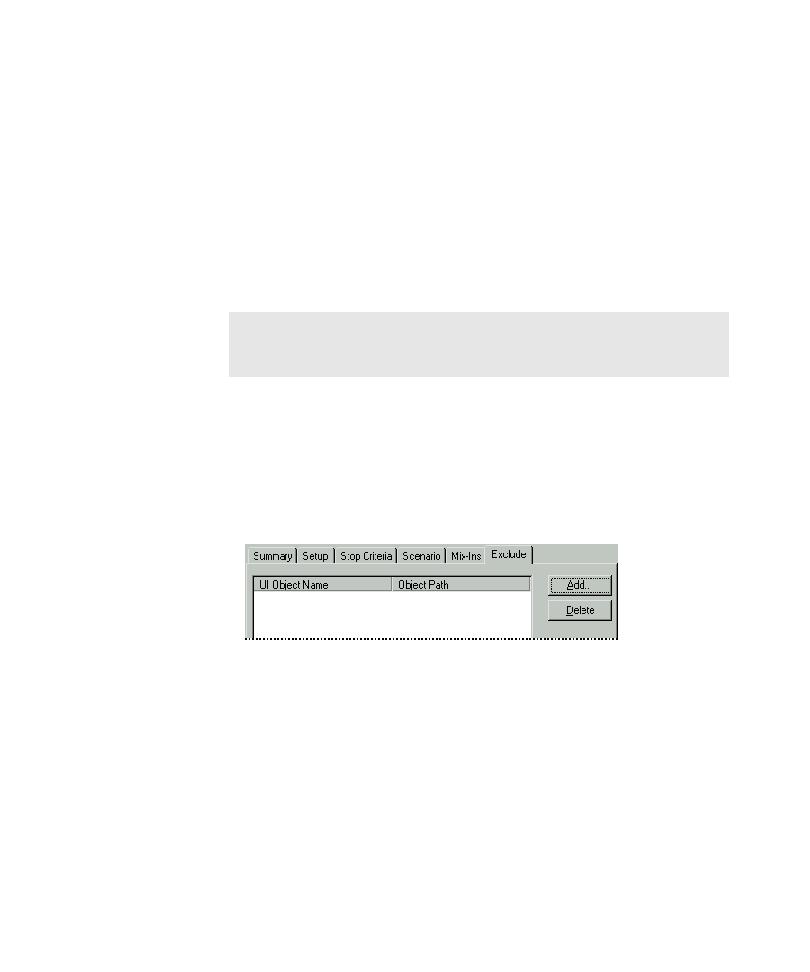
Modifying Settings on the Exclude Tab
If you run the Pilot in an area of the AUT that contains a control that you do not
want to test, you can use the Exclude tab to prevent TestFactory from exercising it
during the Pilot run.
To exclude a control in the AUT from testing:
1. Click the Exclude tab.
NOTE: To specify default stop criteria settings for all new Pilots, use the