Selecting a Host
WebLOAD Quick Start
WebLOAD Quick Start
11
5.
On the Welcome screen, click Next.
6.
Click the "+" adjacent to Other to expand the tree, select General Performance Monitor, and
click Next.
7.
Click Browse... to browse available hosts. In the Host selection dialog box, highlight the
name of your computer in the list, and click Select.
8.
Click Next.
WebLOAD attempts to connect to the selected host and collect data. A tree of all available
measurements to monitor is displayed.
9.
Expand the tree to select the measurement you want. Click Processor | _Total, select the
checkbox adjacent to % Processor Time, and click Next.
10.
Click Finish.
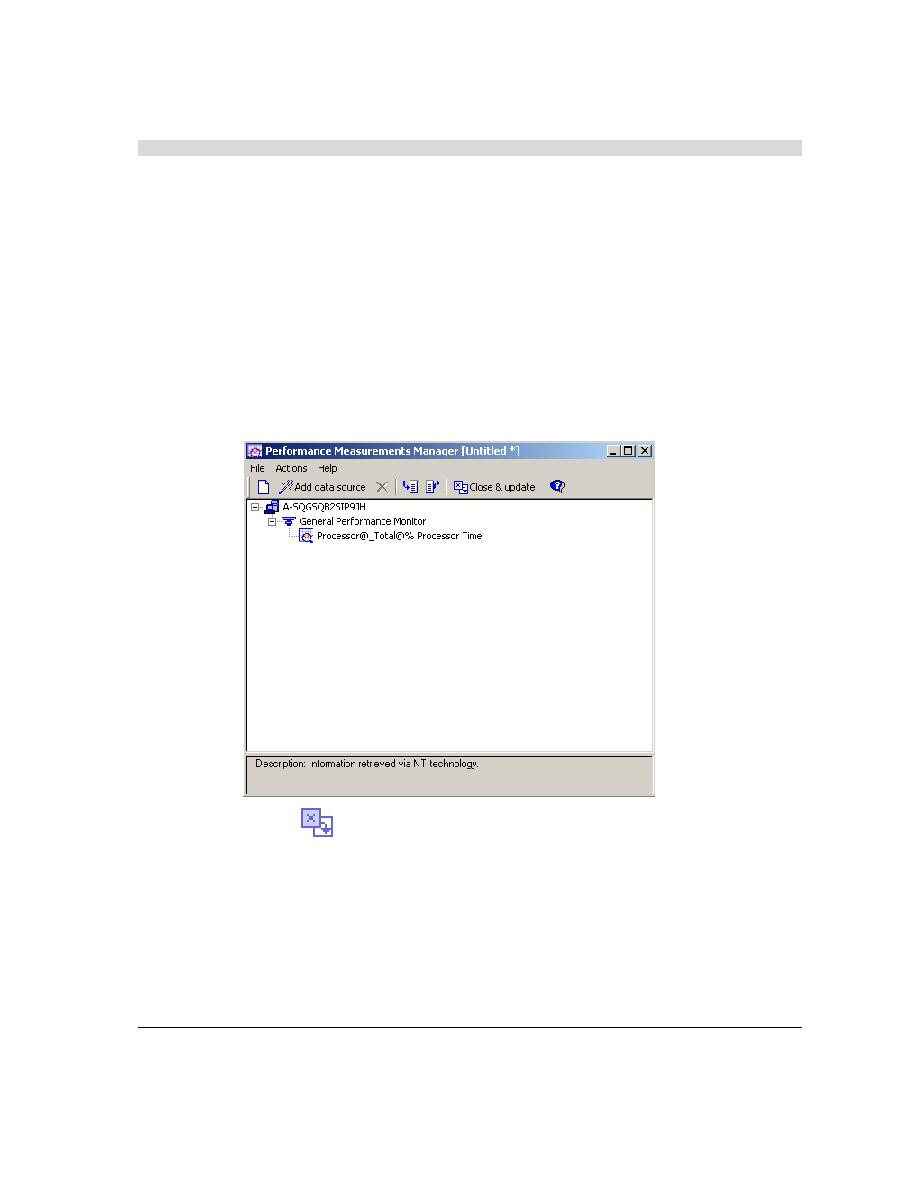
11.
Click the
Close & update toolbar button to save the configuration with the template
and return to the WebLOAD Wizard.
12.
On the Agenda / Mix Selection screen, click Next.
Selecting a Host
For the steps in this Quick Start, you use your own machine as the host load machine to generate
Virtual Clients. The number of Virtual Clients that can be generated depends on the power of
the host machine. For this test, you do not select a Probing Client.