Specify the defect information
Lesson 5 · Adding and Tracking Defects
5 Specify the defect information.
In Category, specify the class category of the defect. Select Defect.
Skip the Detected By box. This field indicates the name of the person who
detected the defect. By default, the login user name is displayed.
Skip the Project box. This field indicates the name of the project in which
this defect was found. Accept the default value.
In Severity, specify the severity level of the defect. Select 2-Medium.
Skip the Reproducible box. This field indicates whether the defect can be
reproduced under the same conditions in which it was detected. Accept the
default value.
In Subject, specify the subject in the test plan tree to which the defect is
related. Select Cruises.
Skip the Detected on Date box. This field indicates the date on which the
defect was found. By default, today's date is displayed.
In Detected in Version, specify the application version in which the defect
was detected. Select Version 1.01.
Skip the Status box. When you initially add a defect to a project, it is
assigned the status New.
Skip the Regression field. Accept the default value.
6 Skip the user-defined fields.
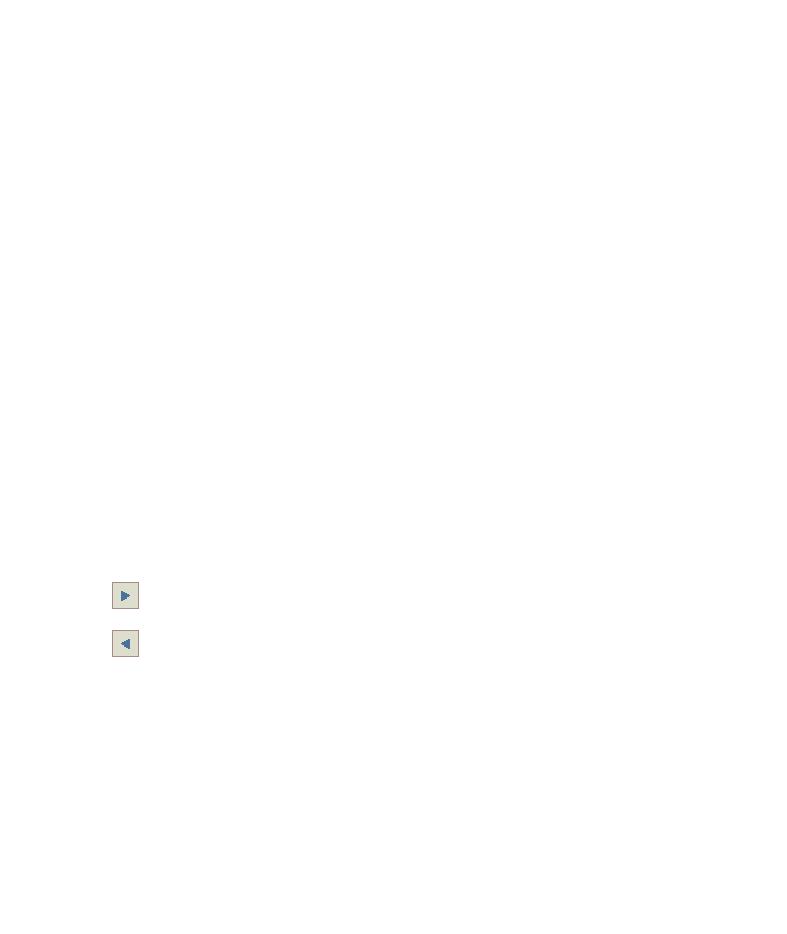
Click the Next Page arrow. For the purpose of this exercise, skip the
following fields: Language, Browser, and Operating System.
Click the Back Page arrow.
7 Type a detailed description of the defect.
In the Description box, type a description of the defect. For example, type:
The defect was detected in the Cruise Booking test. When you click the Now
Accepting Reservations button, the Flight Finder page opens instead of the
Cruise Reservation page.
79