background image
<< Shortcut keys | Importing a testplan >>

Creating a Testplan

<< Shortcut keys | Importing a testplan >>
58
Getting Started: A Tutorial
3 P
LANNING
A
T
ESTING
S
TRATEGY
Creating a Testplan
Creating a Testplan
1
If the GMO project that you created in Chapter 2 is not open, please open
it (File/Open Project.) If you have not created this project yet, please
see
Chapter 2, "Preparing to Use this Tutorial" on page 26
.
2
Click the Files tab in the Project Explorer, right-click the Plan folder,
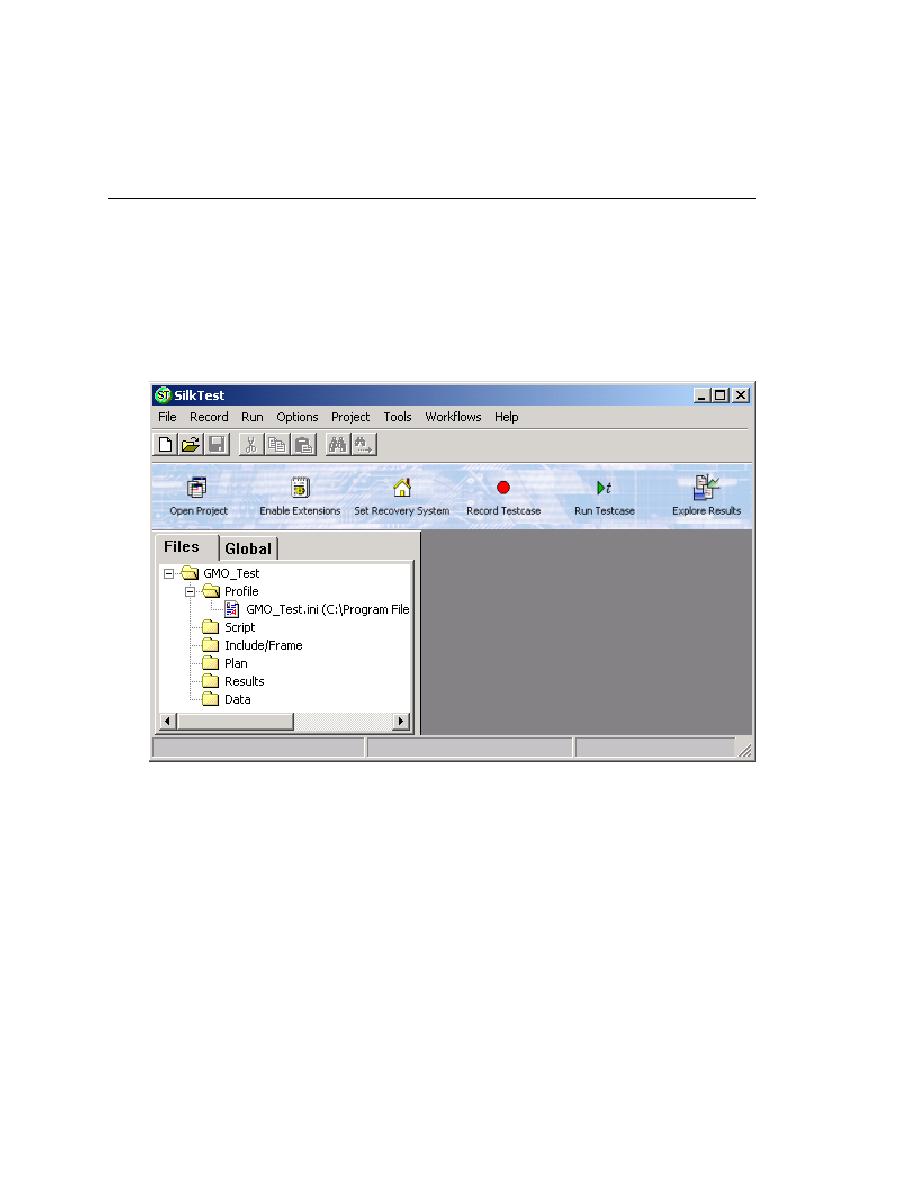
and then click New File. An untitled testplan file opens in the SilkTest
editor.
3
Click File/Save.
4
On the Save As dialog, name the Testplan:
(Web): Name the testplan webtut.pln and save it in the Programs/
Borland/SilkTest/Projects/GMO
folder.
(client/server): Name the testplan cstut.pln and save it in the Programs/
Borland/SilkTest/Projects/GMO
folder.
5
Click Save, and then click Yes when prompted to add the file to your
project. The plan file appears in the Plan folder in the Project Explorer.