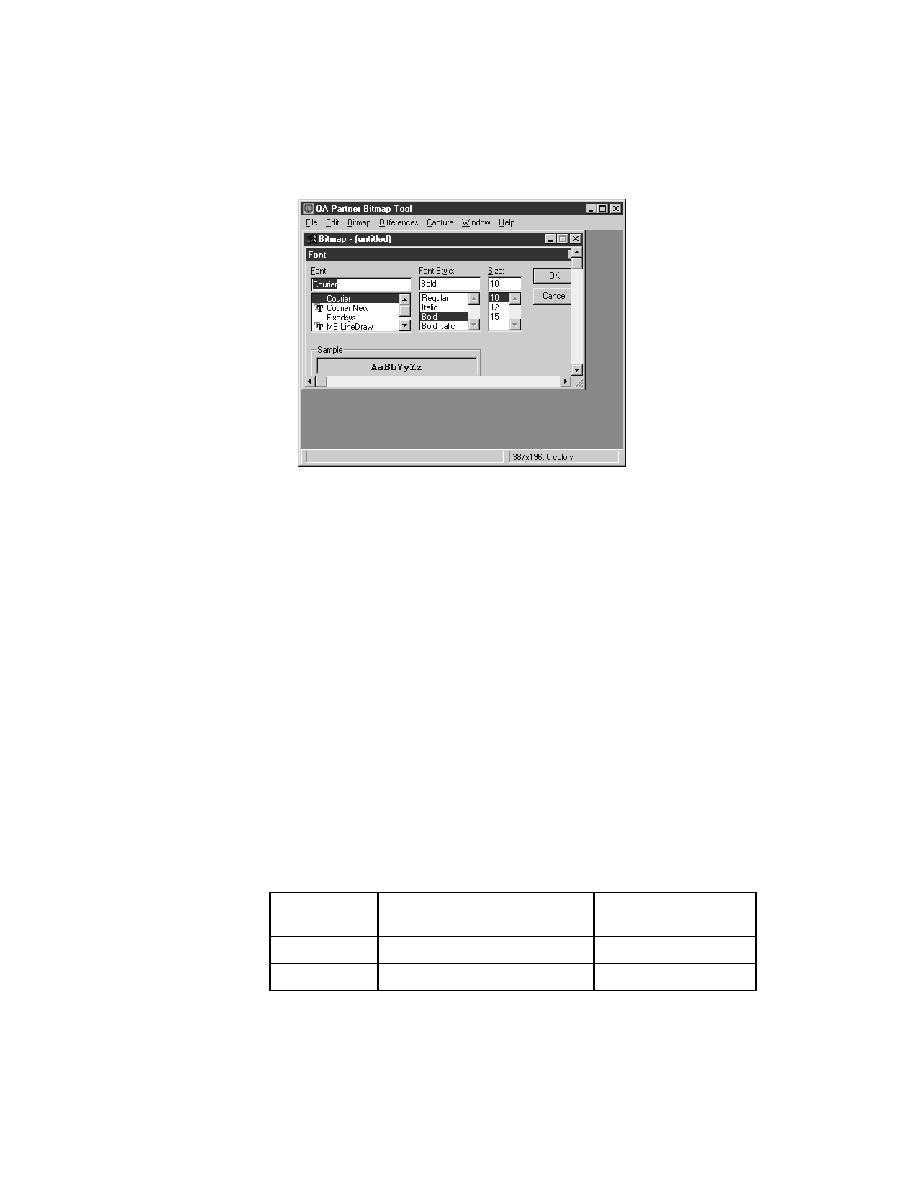
Bitmap Tool - Saving captured bitmaps
existing bitmap file.
page 414) or create a mask for the baseline bitmap (see "Creating and
applying masks" on page 419).
bitmaps
should adopt a naming convention that helps you distinguish between the first
bitmap in the comparison, called the baseline bitmap, and the second bitmap,
called the result bitmap. You can make the distinction in the file name itself,
for example, by appending or prefixing a "b" or "r" to the name and using the
same file extension for all bitmap files. Or you might use the same file name
for both baseline and result bitmaps and add a unique file extension.
open.bmp and open.rmp. Alternatively, you might name them openbase.bmp
and openres.bmp, respectively.
Bitmap Tool. We recommend that you use .bmp for baseline bitmaps and
.rmp for result bitmaps.
saving
to be
extension