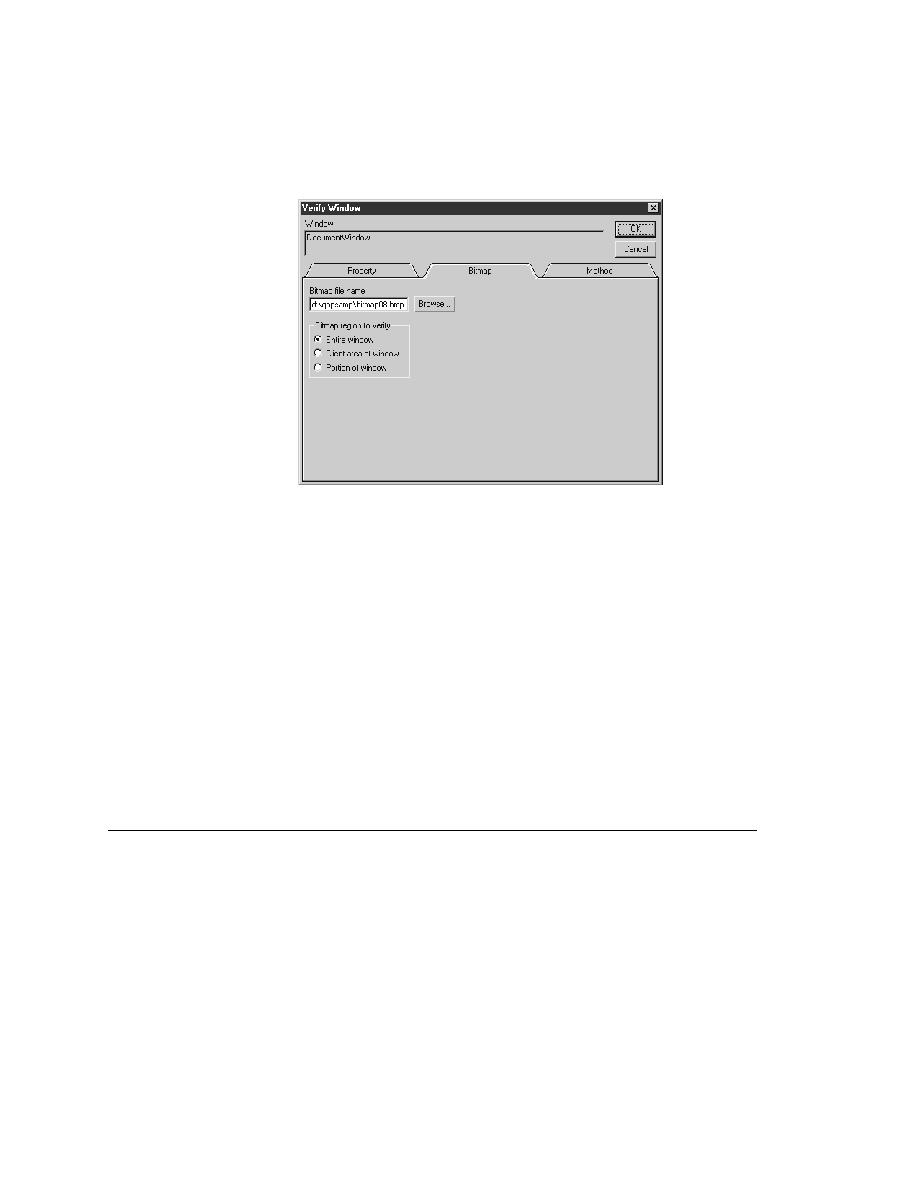
Bitmap Tool - Comparing bitmaps
pushbutton to help select a directory name.
of Window, and click OK.
Rectangle in the bitmap tool. To capture a portion of the window,
move the mouse cursor to the desired location to begin capture.
While pressing and holding the left mouse button, drag the mouse to
outline a rectangle, and then release the mouse button to capture the
bitmap.
always adds a bitmap footer to the bitmap file on the disk. This
means that the physical size of the bitmap will be slightly bigger
than if you capture the bitmap in the bitmap tool. The bitmap footer
always contains the window tag for a given bitmap.
Zoom, Scan, and Comparison Statistics. You can also use masks to alter the
tool's comparison capabilities. Masks are described in "Creating and
applying masks" on page 419.