background image
<< Bitmap Tool - From SilkTest results file | Bitmap Tool - Windows Bitmap Tool >>
Bitmap Tool - Capturing bitmaps
<< Bitmap Tool - From SilkTest results file | Bitmap Tool - Windows Bitmap Tool >>
410
User's Guide
23 U
SING
THE
W
INDOWS
B
ITMAP
T
OOL
Capturing bitmaps
Procedure To compare the actual bitmap generated by the testcase against
the baseline bitmap generated by the bitmap tool or one of SilkTest's built-in
functions, click on the box icon preceding the error message.
As shown in the preceding figure, SilkTest opens the bitmap tool, opens both
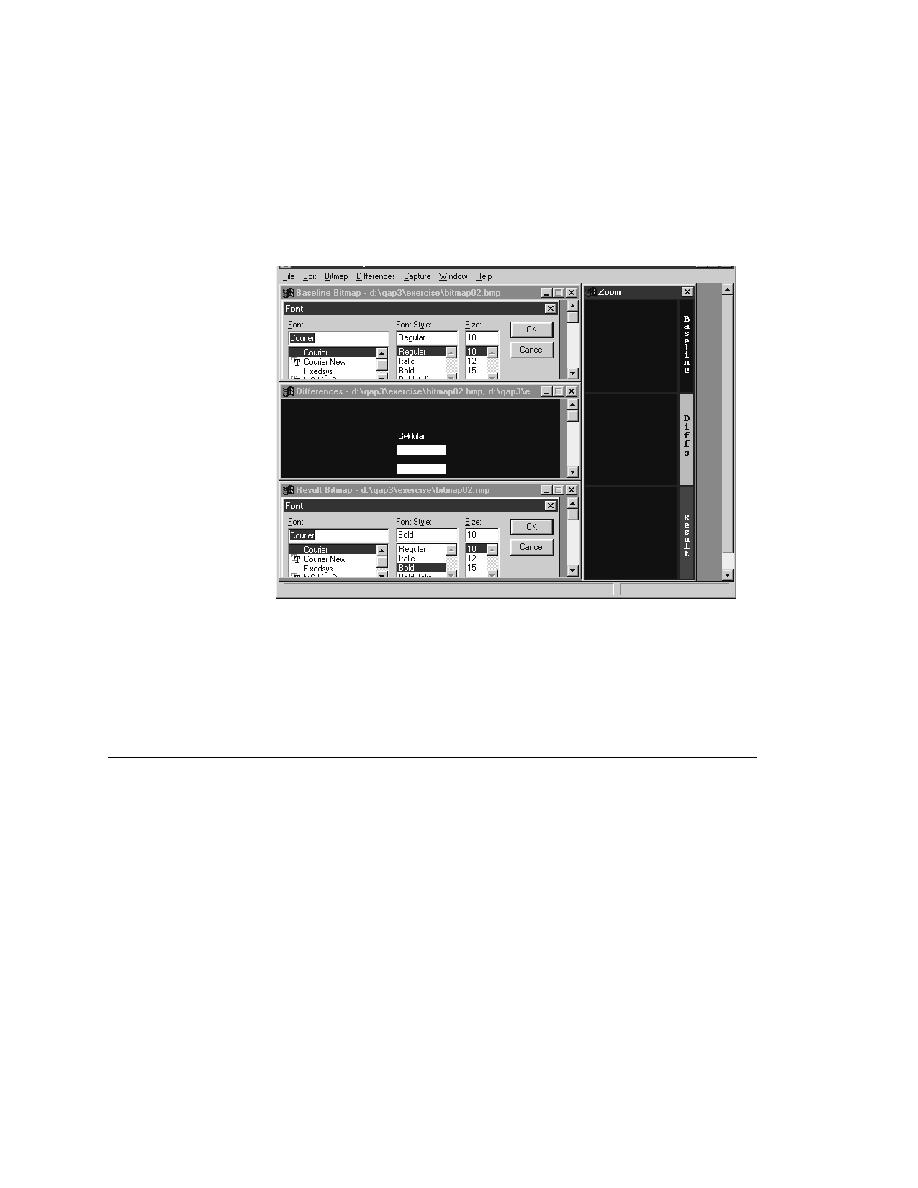
baseline (expected, .bmp file) and result (actual, .rmp file) bitmaps, creates a
Differences window and places it in between the baseline and result bitmaps.
To the right, the tool displays a three-paned Zoom window. (The Differences
and the Zoom windows are described in "Zooming in on the differences" on
page 416.)
Capturing bitmaps
Two ways to capture
bitmaps
You can capture bitmaps in two ways:
·
Windows Bitmap Tool
·
SilkTest's bitmap functions and methods embedded in testcases
This section explains how to capture bitmaps in the Windows Bitmap Tool
and how to save them.
Capturing bitmaps in
the Windows Bitmap
Tool
You use the Capture menu in the Windows Bitmap Tool to capture a bitmap
for any of the following in your application:
·
A window