The Record Status dialog
Using the Basic Workflow
11
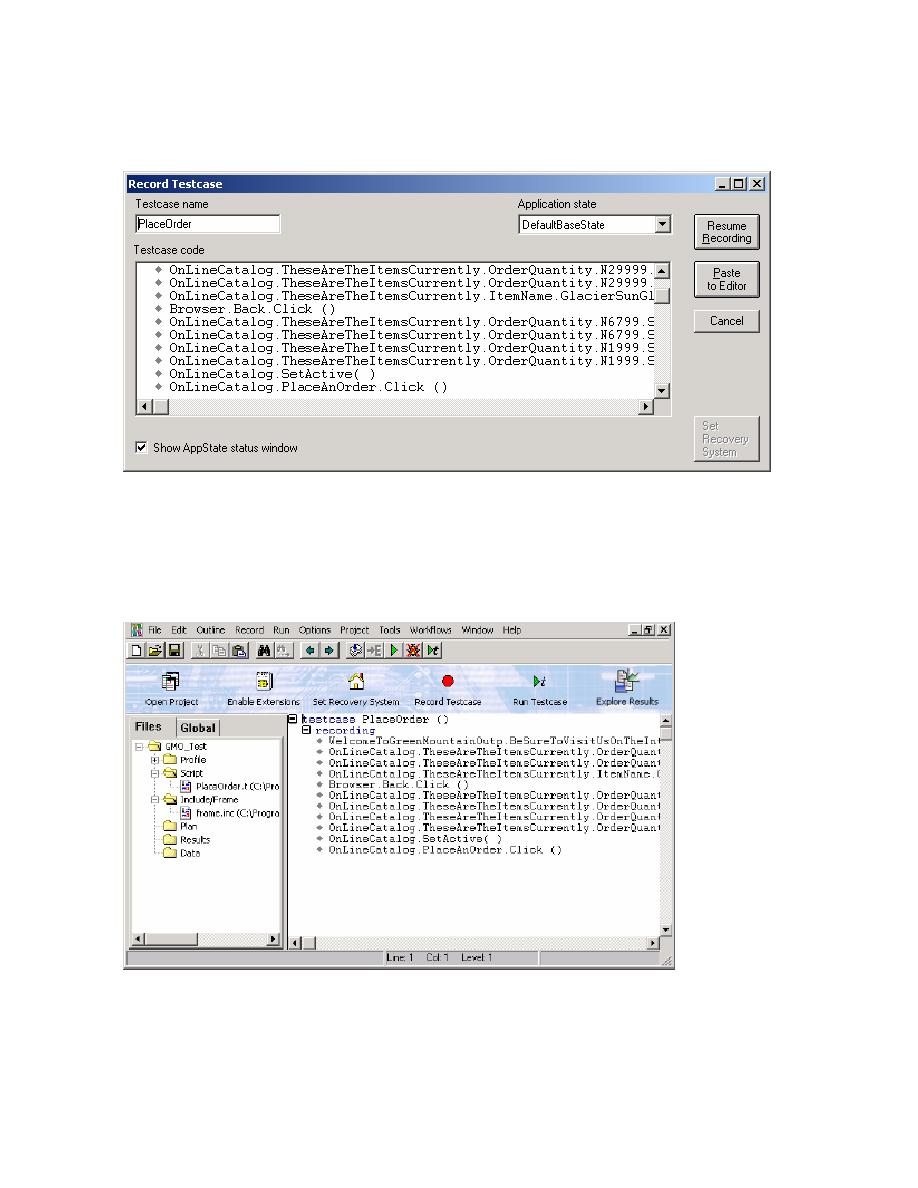
7 Click Done on the Record Status dialog. The actions you recorded appear in the Record
Testcase dialog. If you captured additional cursor movements or clicks the text may be different.
8 On the Record Testcase dialog, click Paste to Editor.
9 On the Update Files dialog, click OK to paste the testcase to the Editor and update the window
declarations in the frame file SilkTest created when setting up the recovery system.
10 Click the plus sign in the Editor to see the testcase you created. Your recording may differ
slightly from the one shown below; for example, you may have captured additional cursor
movements or clicks.
You are now ready to run your testcase.