XML Checkpoint Properties Dialog Box
Enter in the Internet address (or the path) along with the XML file name into the Open edit field; or
use the browse button and navigate to the XML file and select it.
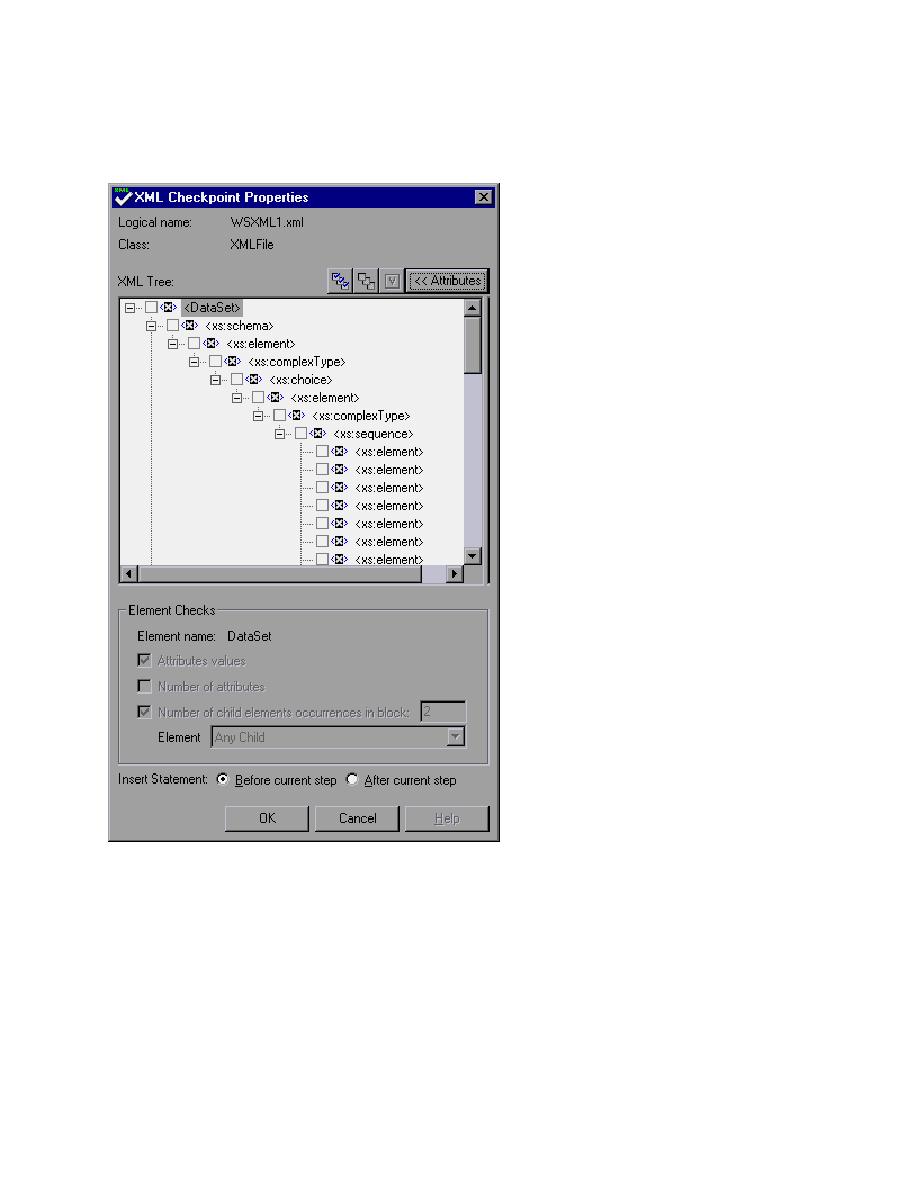
12. Click OK. The XML Checkpoint Properties dialog box opens.
The selected XML file will be displayed showing its element hierarchy and value with nothing
selected.
13. Select whatever combination of elements and value that you would like verified.
14. Click OK to add the XML checkpoint to your test.
Below is a sample of the type of statement that is entered in the Tree View and its corresponding
VBScript code in the ExpertView when you successfully enter the checkpoint (for more of an
explanation of the checkpoint statement, see the QuickTest Object Model Reference from the Help
menu for more information).