Creating XML File Checkpoints
The selected XML file will be displayed showing its element hierarchy and value (character data)
with nothing selected.
7. Select whatever combination of elements and value(s) that you would like verified.
8. Click
OK to add the XML checkpoint to your test.
Below is a sample of the type of statement that is entered in the Tree View and its corresponding
VBScript code in the ExpertView when you successfully enter the checkpoint (for more of an
explanation of the checkpoint statement, see the QuickTest Object Model Reference from the Help
menu for more information).
Tree View structure:
Expert View code:
Browser(
"Top XML : Chris"
).Page(
"Top XML : Chris"
).WebXML(
"MyXML1"
).Check
CheckPoint(
"MyXML1"
)
Note: The above code is actually one continous line, but has been wrapped into two lines due to this word
processing tool.
Creating XML File Checkpoints
This process will access an XML file directly in the system and verify it. The creation steps are exactly
the same whether you create this checkpoint during recording or after recording.
To add an XML file checkpoint:
9. (Optional)
Turn
recording
on.
10. (Optional) Perform any necessary actions for your test scenario.
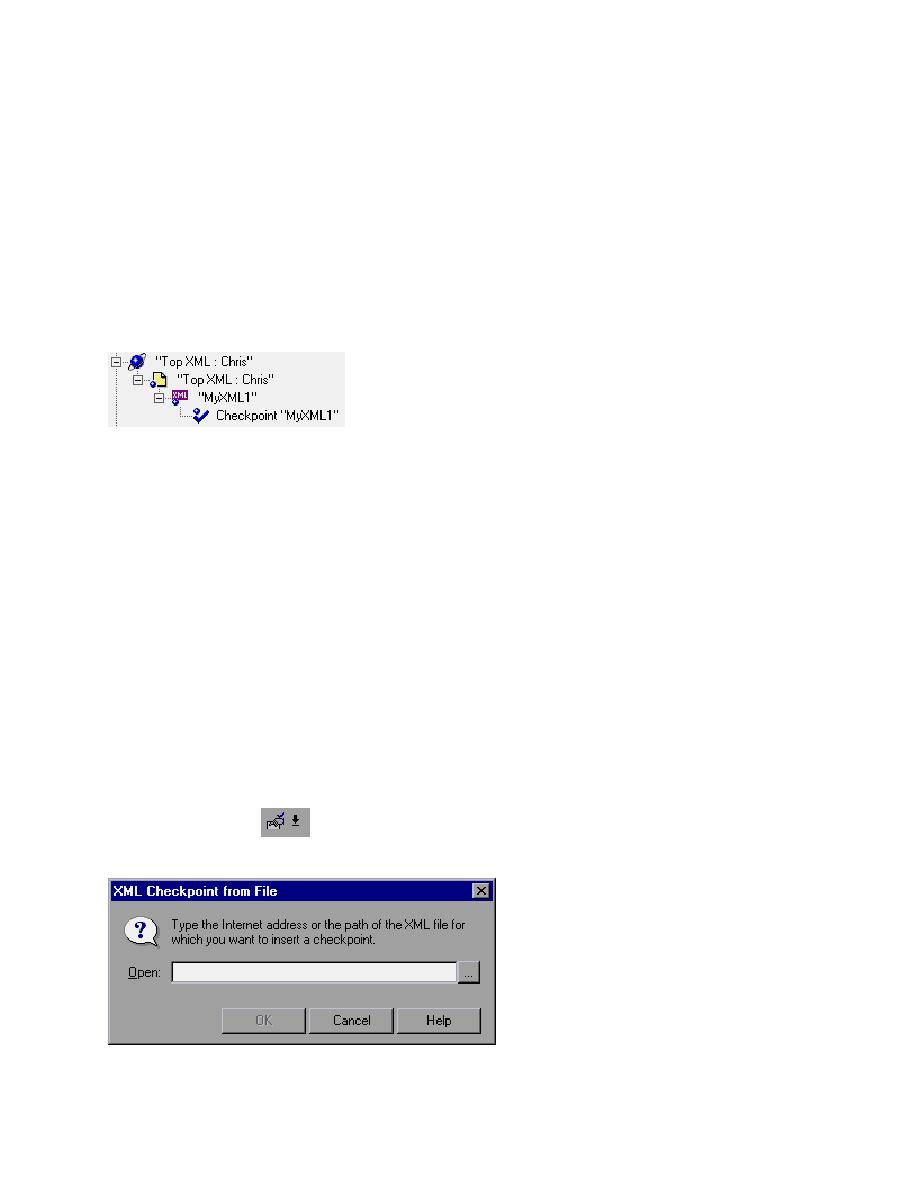
11. Choose Insert > Checkpoint > XML Checkpoint (File)... or click the arrow beside the Insert
Checkpoint button
and choose XML Checkpoint (File)... .
The XML Checkpoint from File dialog box opens.