Creating Parameterized XML Checkpoints
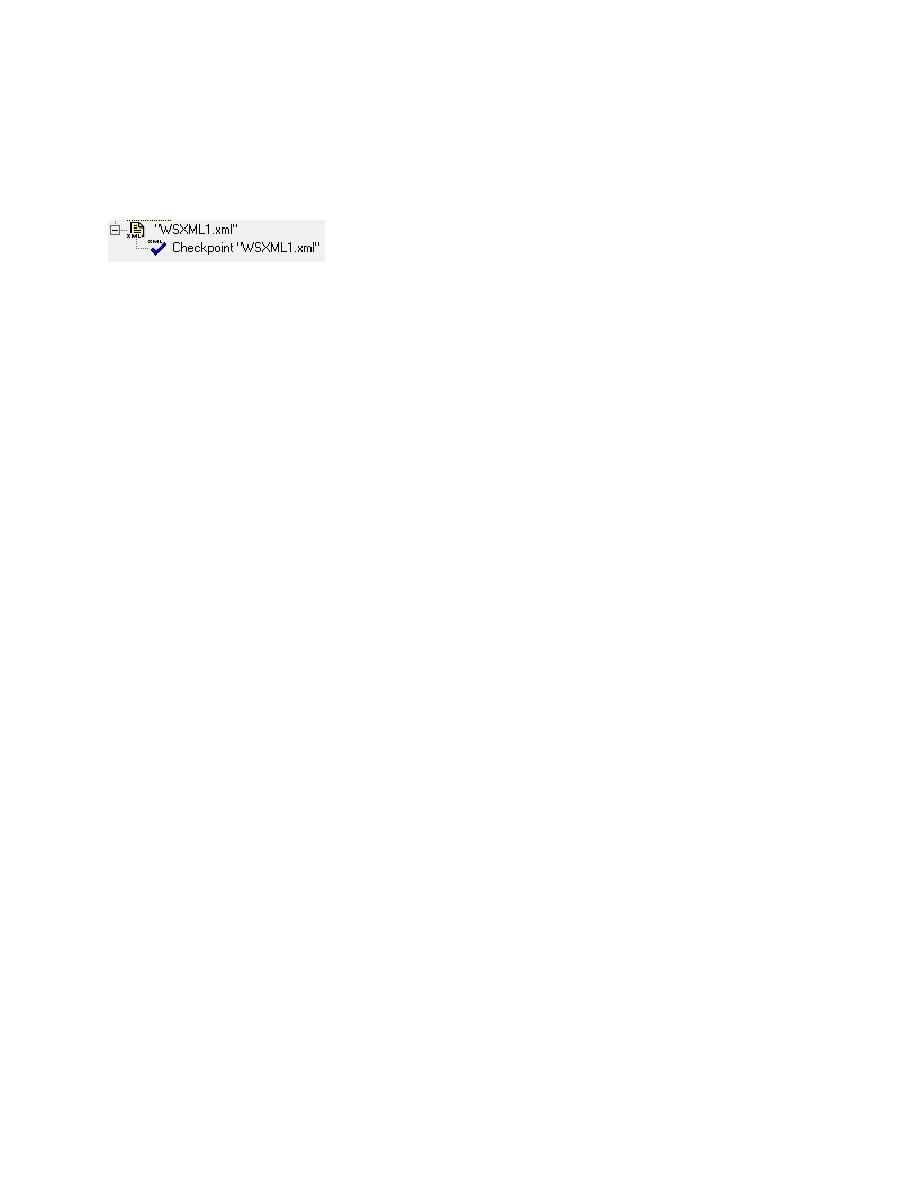
Tree View structure:
Expert View code:
XMLFile(
"WSXML1.xml"
).Check CheckPoint(
"WSXML1.xml"
)
Creating Parameterized XML Checkpoints
XML Checkpoints can be parameterized in order for you to be able to handle verifying dynamic data.
XML Checkpoints can have the value (character data) and/or attributes parameterized. For example,
when the contents of an XML file change, you could handle this by having the value (character data)
referenced from the data table instead of having hard-coded constants in the checkpoint description.
The process of creating the checkpoint is basically the same for both Application and File XML
Checkpoints. The deviation occurs when you get to the XML Checkpoint Properties dialog box.
Therefore this description will pick up from the properties dialog box.
Parameterizing the XML Checkpoint:
Create your XML Checkpoint as described in either of the two descriptions from above. Once the XML
Checkpoint Properties dialog box appears you will want to perform the following steps.
1. Select the value that you desire to verify.
2. In the Edit Value section, change the Value check from Constant to Parameter.
3. Decide which Data Table the parameter is to reside and then provide a name for the parameter.
Below is an example.