background image
<< Defining test requirements | Shortcut keys >>

Test descriptions

<< Defining test requirements | Shortcut keys >>
56
Getting Started: A Tutorial
3 P
LANNING
A
T
ESTING
S
TRATEGY
Understanding the SilkTest Testplan Editor
The following figure shows the same outline created with the testplan editor.
The name of this testplan is sample.pln:
Using color to indicate
structure
There are five types of text lines used by the editor, each with an identifying
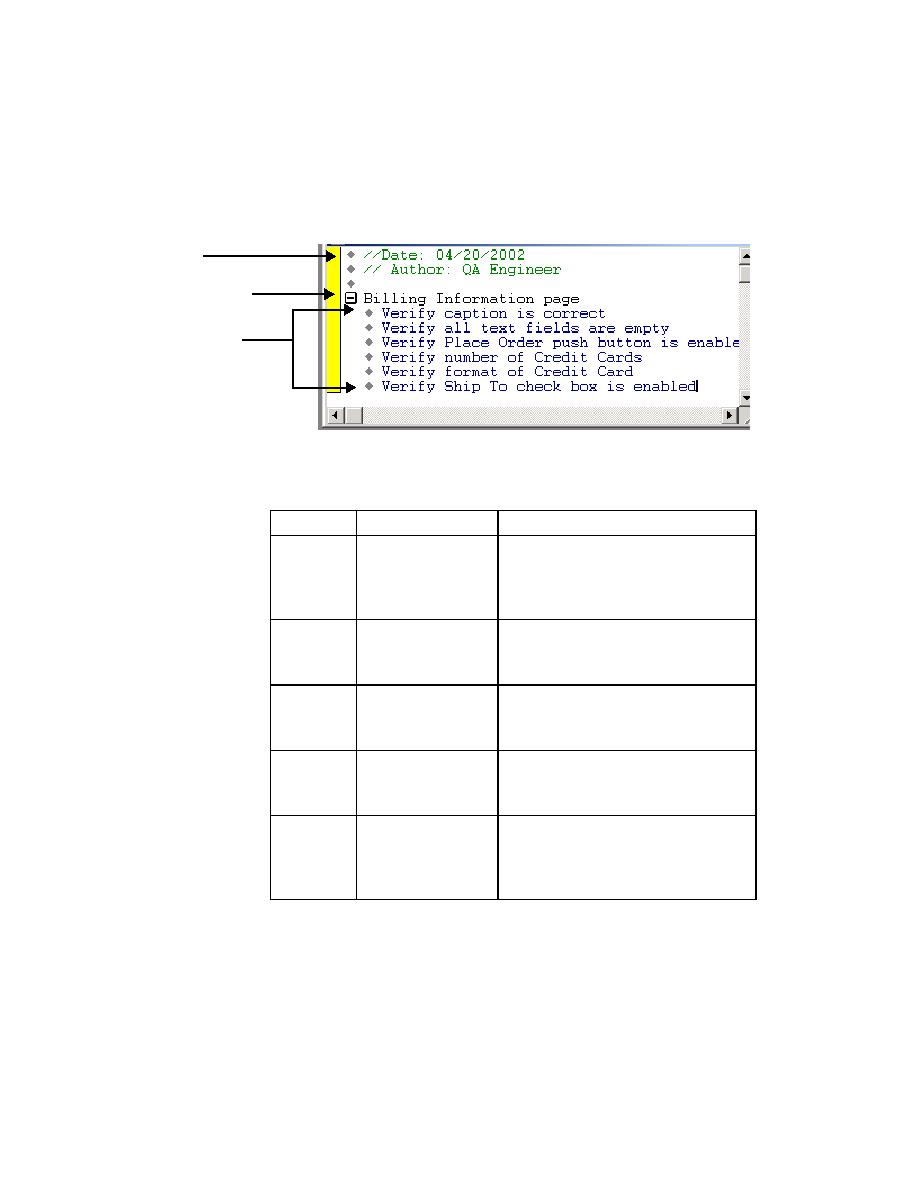
color. The default colors in the testplan editor are described below:
Indenting and
changing levels
The testplan is divided into blocks of statements with different levels of
indentation. Each successive level is indented one level to the right. A minus
icon [-] indicates that the block is fully expanded. Clicking on the minus icon
collapses the statements within that block. A plus icon [+] indicates that the
block can be expanded further.
Comments
Group descriptions
Test descriptions
Color
Component
Description
Green
Comment
Additional user information that is
incidental to the outline; preceded by
double slashes (//); provides
documentation throughout the testplan.
Black
Group description
Higher level lines of the hierarchical
testplan outline that describe a group of
tests; may be several levels in depth.
Blue
Test description
Lowest level of the hierarchical
testplan outline that describes a single
testcase.
Dark Red
Testplan statement
Link scripts, testcases, test data, closed
subplans or an include file (such as a
test frame) to the testplan.
Magenta
Open subplan file
marker
Subplans to be included in a master
plan. For more information about
master plans and subplans, see the
User's Guide and online Help.