Test Plans - How to indent and change levels
56
User's Guide
2 C
REATING
T
ESTPLANS
Structuring an outline
How to indent and
change levels
To enter the group and test descriptions that constitute the outline, you use
menu, keyboard, or toolbar commands to change the level as you are typing
the descriptions. The following table summarizes the commands:
Each command acts on the current line or currently selected lines.
Using color to indicate
structure
You can also customize the outline so that different testplan components
display in a unique color. Here are the default colors:
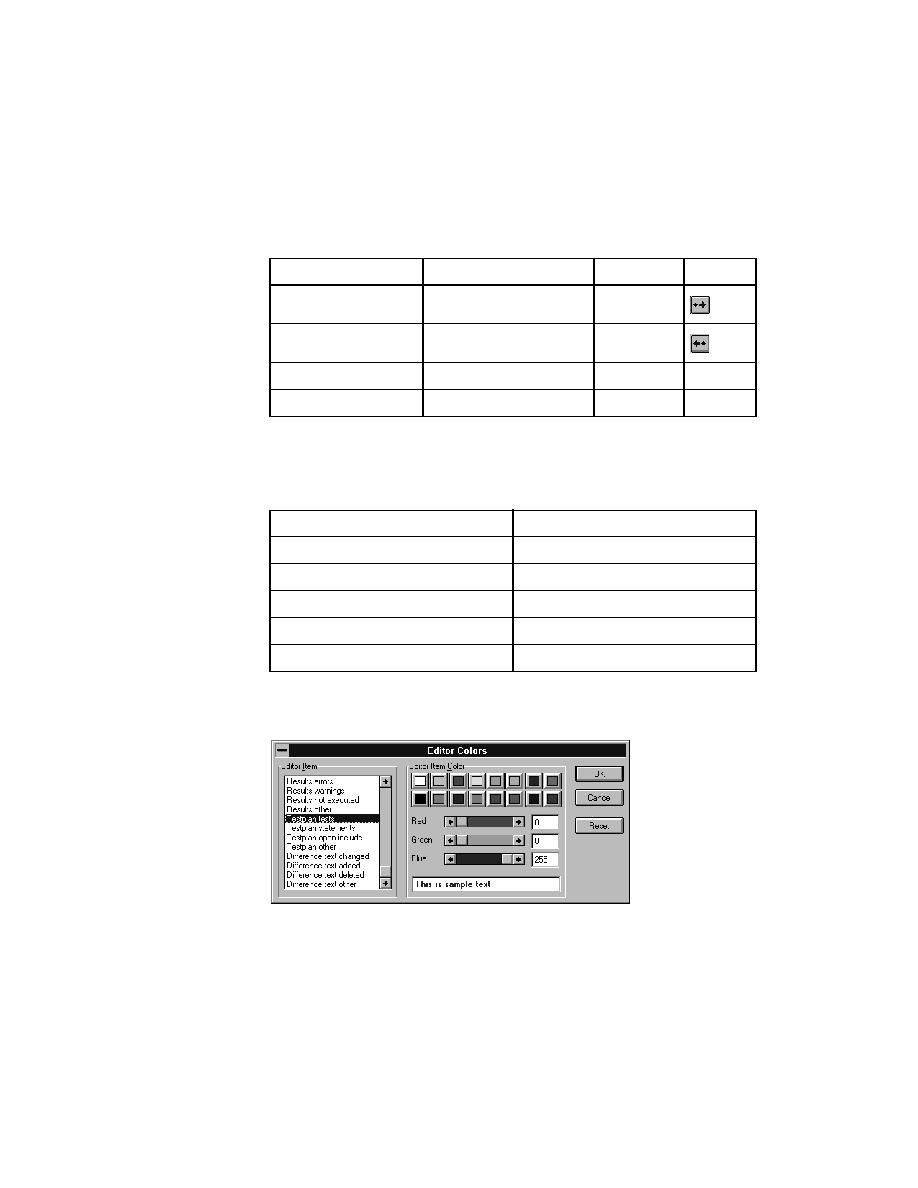
To change any of these, select Options/Editor Colors to invoke the Editor
Colors dialog.
In the Editor Item list box at the left of the dialog, select the outline editor
item to change. Then apply a color to the item by selecting a pushbutton from
the list of predefined colors.
Action
Menu Item
Key
Tool
Indent one level
Outline/Move Right
ALT +
Outdent one level
Outline/Move Left
ALT +
Swap with line above
Outline/Transpose Up
ALT +
None
Swap with line below
Outline/Transpose Down
ALT +
None
Component
Default color
Test description
Blue
Testplan statement
Dark red
Open subplan file marker
Magenta
Comment
Green
Other line (group description)
Black