Creating a SilkTest Project
Using the Basic Workflow
5
Creating a SilkTest Project
You can use the Basic Workflow bar to create a new project or open an existing project. Only one
project can be open at a time. In this tutorial, we'll create a new project for use with the GMO Web
application. The examples in this tutorial use Internet Explorer 6 and the GMO Web application,
available at:
http://demo.borland.com/gmopost/
1 Open SilkTest and make sure the Basic Workflow bar is visible. If it is not, click
Workflows/Basic to enable it.
2 On the Basic Workflow bar, click Open Project\New Project.
3 On the New Project dialog, double click Create Project.
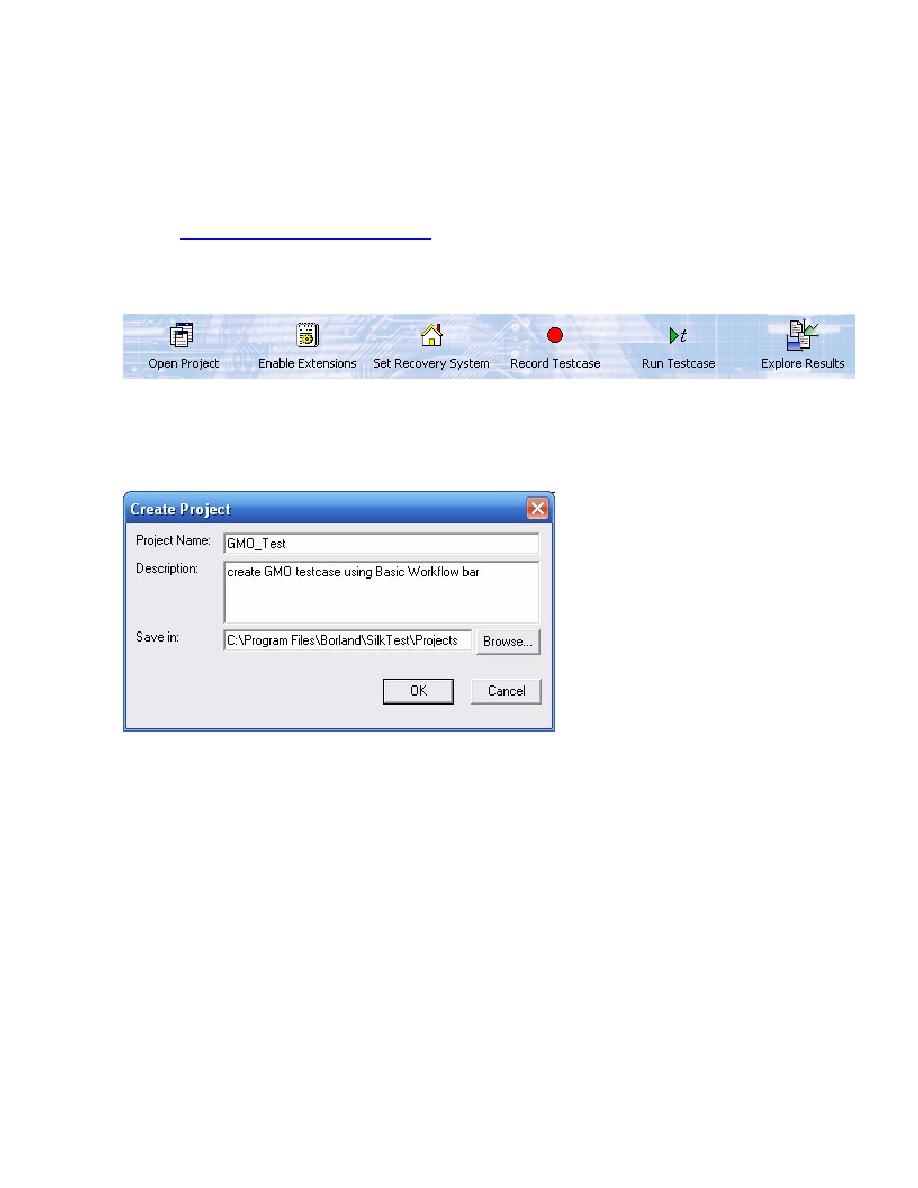
4 On the Create Project dialog, type GMO_Test in the Project Name field and create GMO
testcase using Basic Workflow bar in the Description field.
5 Click OK to save your project in the default location, <SilkTest installation directory>/Projects.
When you click OK, SilkTest:
·
creates
a
projectname folder, in this case, GMO_Test, within the <SilkTest installation
directory>/Projects directory
·
writes the project file, GMO_Test.vtp, and GMO_Test.ini to this location
·
copies the SilkTest extension .ini files (appexpex.ini, axext.ini, domex.ini, and javaex.ini)
to <SilkTest installation directory>/Projects/GMO_Test/extend subdirectory.
If you do not want to save your project in the default location, click Browse and specify the folder
in which you want to save your project.
A yellow status area appears in the lower right corner as SilkTest processes the files, creates
your project, GMO_Test, and displays folders on the Files and Globals tabs for the files and
resources associated with this project.