Create a custom style
Automatically Generating Scripts
5-40
You can provide an input control in the AUT with entry data that is more valid than
the default entry data by assigning a style to the UI object and components that
represent the control in the application map. If you assigned a style to a UI object or
interaction object component before mapping, you can always adjust the data entry
settings for testing. If you did not assign a style to an input UI object or interaction
object component before mapping, we recommend that you do so before testing.
This section describes how to:
þ
Assign a style to a UI object or to a UI object component that represents an
input-type control in the AUT.
þ
Specify a required string case for the style.
þ
Modify the data entry settings for a style.
þ
Create a custom style.
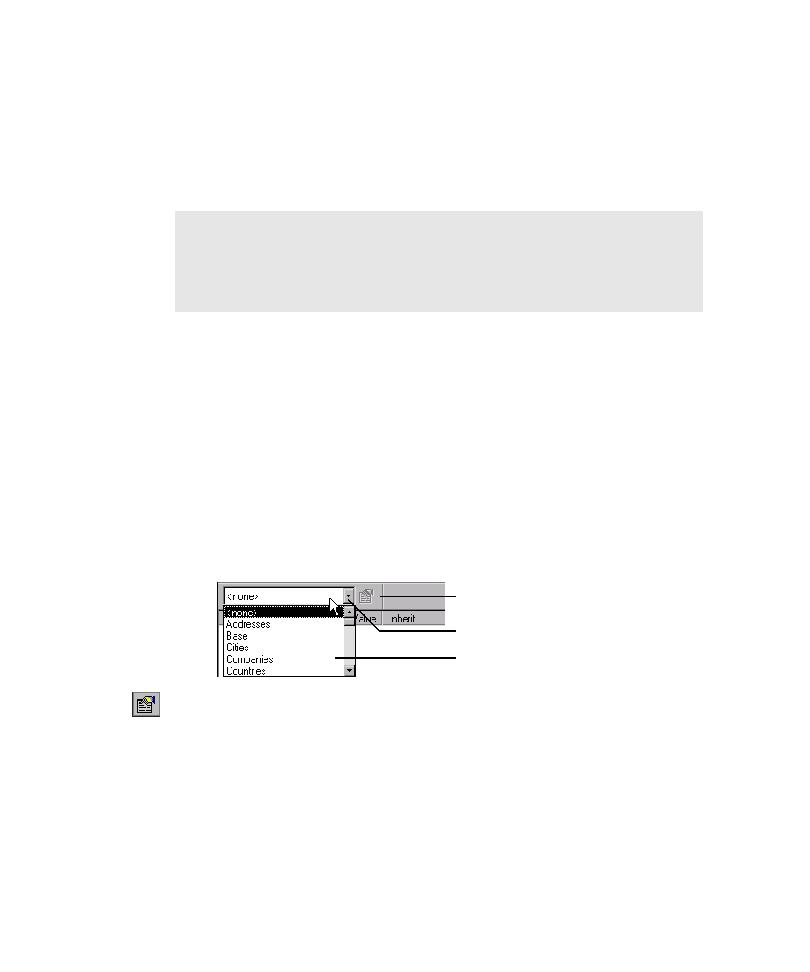
To assign a data entry style to an input-type UI object and view its data entry settings:
1. In the application map, click the UI object.
2. On the Style toolbar at the top of the Properties view, click the Select Style
arrow, and then click a style name.
3. To open the Edit Data Entry Style dialog box and view the settings for the
selected style, do one of the following:
Click Style Properties on the Style toolbar.
Right-click the UI object, and then click Edit Style on the shortcut menu.
NOTE: If you choose not to assign a style to an input-type UI object or
component, you can specify entry data by modifying the UI object properties of
UI objects in the Properties view and modifying the component properties in the
Property List dialog box. For information about modifying properties, see
Existing data entry styles.
Style toolbar
Select Style arrow