Overview - Capturing New Windows
24
User's Guide
1 O
VERVIEW
Getting started
12 Now go to Text Editor, select Search/Find to open the Find dialog, place
your mouse pointer over the dialog's title bar, and press Ctrl+Alt to
verify its state. The Verify Window dialog displays. Click OK to verify
all properties for the dialog. Close the Find dialog (to return to your base
state), then click Done in the Record Status window.
You return to the Wizard and are asked to confirm that the test is what
you want.
13 Click Next.
14 Run the test by clicking the Run Test Button.
15 The wizard reports the results. You can move the wizard to the side and
look at the results file that is created whenever you run a test.
16 In the wizard, click Next to save your testcase.
The testcase is saved in a script (.t) file with the same name as the
testplan (in this case, edit.t).
17 Click Close to close the wizard.
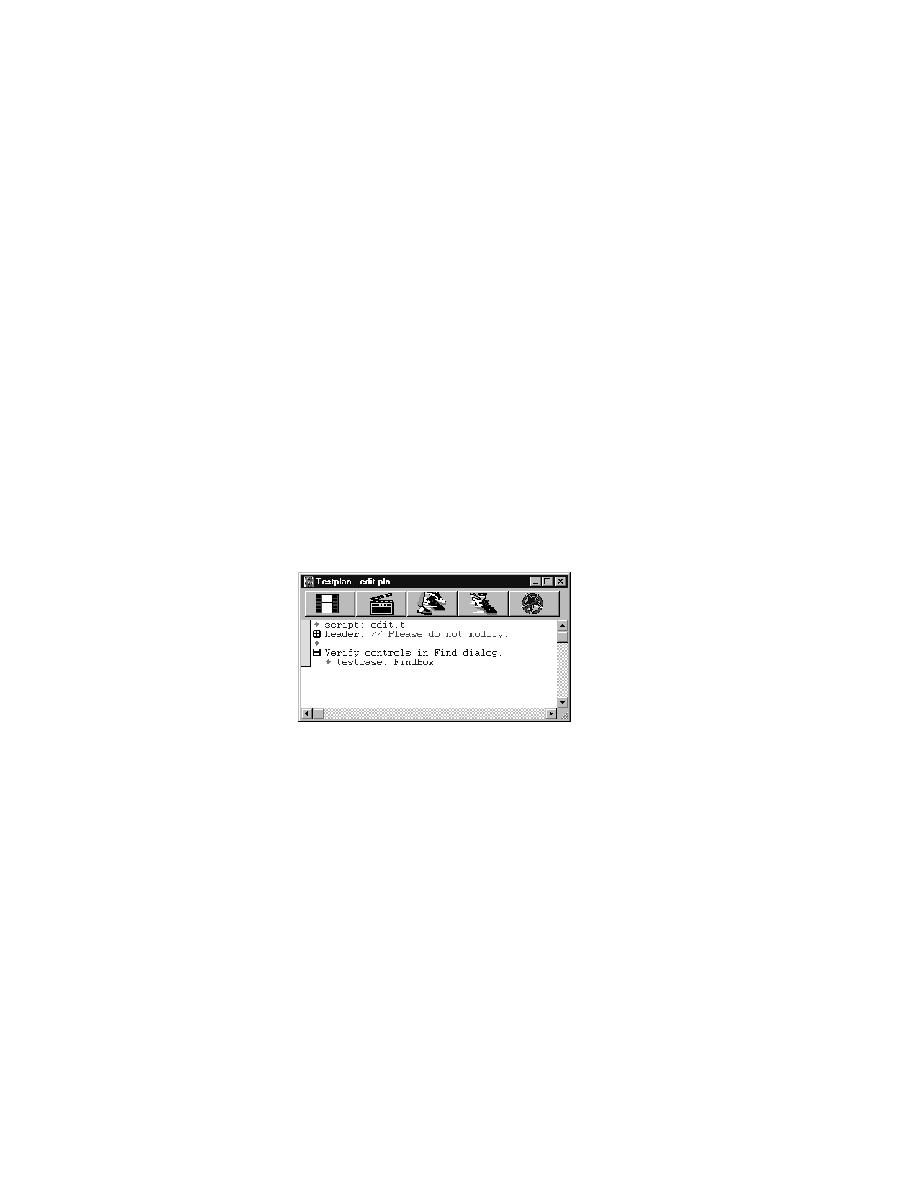
You see a window containing the results file from the test you just ran. In
another window is the testplan:
What has been
recorded in the
testplan
SilkTest has recorded all the needed information for you in the testplan:
·
The first line records the script file containing the testcase.
·
The second section (under Header:) contains information that the wizard
uses to find files. Click the plus sign to the left of "header" to see the
information.
Warning The wizard maintains the information in the header
section. You should not make changes in this section.
·
The last section lists the testcase you just recorded.
Using the wizard from
a testplan
Notice the five large buttons at the top of the testplan. Those are wizard
buttons. You can click them anytime to have the wizard step you through one
of the testing processes.