Inserting an Interaction Object
Using Interaction Objects to Guide the Application Mapper through the AUT
4-25
Inserting an Interaction Object
To map an unmapped area of the AUT, you start by inserting an interaction object
in the application map at the UI object mapped for the last control that must be
exercised to expose the unmapped area. For example, on a purchase order form, a
user must enter data in several boxes, and then click a command button to submit
the order and receive a confirmation message. To map the path that includes the
confirmation message box, you would insert an interaction object at the UI object
mapped for the command button.
You must insert an interaction object at a UI object that corresponds to a control that
responds to a user action. For example, you can insert an interaction object at a menu
command, but not on a menu name.
To insert an interaction object, do one of the following:
1. In the application map, expand the top-level window that contains all of the
controls involved in the navigational path that you want TestFactory to take.
2. Click the UI object mapped for the last control involved in the navigational path
to expose more of the user interface.
3. Click Insert > Interaction Object.
Alternatively,
1. In the application map, expand the top-level window that contains all of the
controls involved in the navigational path that you want TestFactory to take.
2. On the Insert toolbar, click Interaction Object.
3. In the application map, click the UI object mapped for the last control involved
in the navigational path to expose more of the user interface.
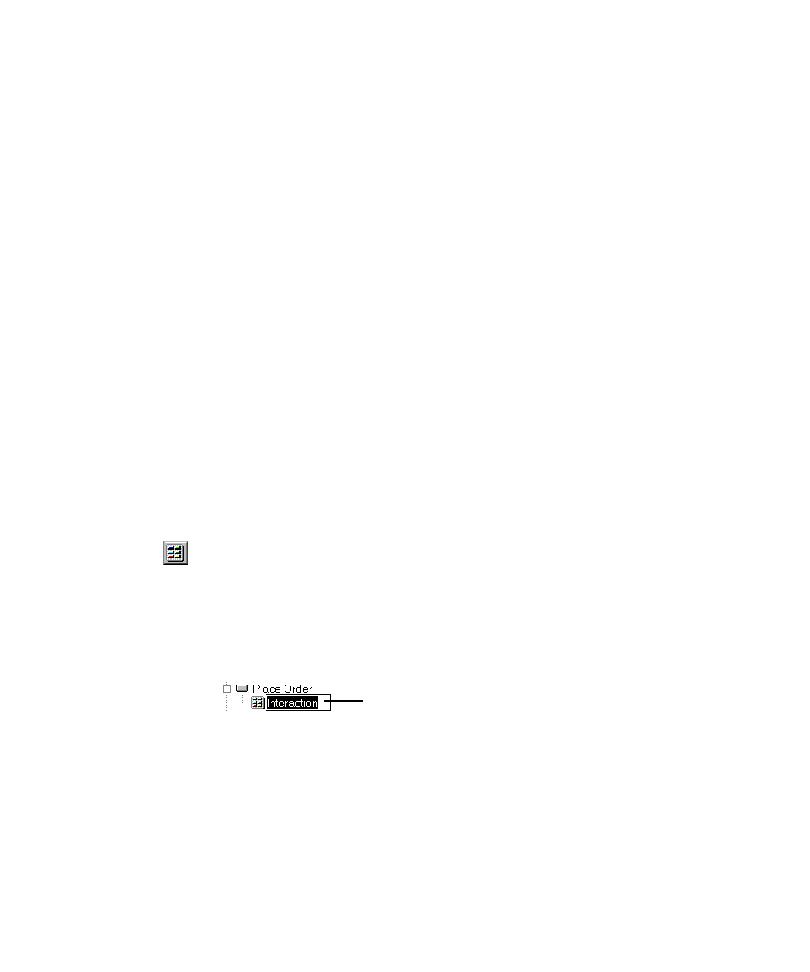
TestFactory inserts an interaction object under the selected (parent) UI object.
To name the interaction object, type a name in the active text box, and then
press
ENTER
.
Type a name for the interaction object here.