background image
<< GUI record and recording options, | Restoring the Robot Main Window During Recording >>

Object-Oriented Recording

Recording a New GUI Script
2-17
10. Perform actions as needed to navigate through the application.
11. Insert features as needed. You can insert features such as verification points,
comments, and timers. (For information, see Chapter 3, Adding Features to GUI
Scripts
.)
12. If necessary, switch from Object-Oriented Recording to low-level recording.
(For information, see Switching to Low-Level Recording on page 2-21.)
Object-Oriented Recording examines Windows GUI objects and other objects
in the application-under-test without depending on precise timing or screen
coordinates. Low-level recording tracks detailed mouse movements and
keyboard actions by screen coordinates and exact timing.
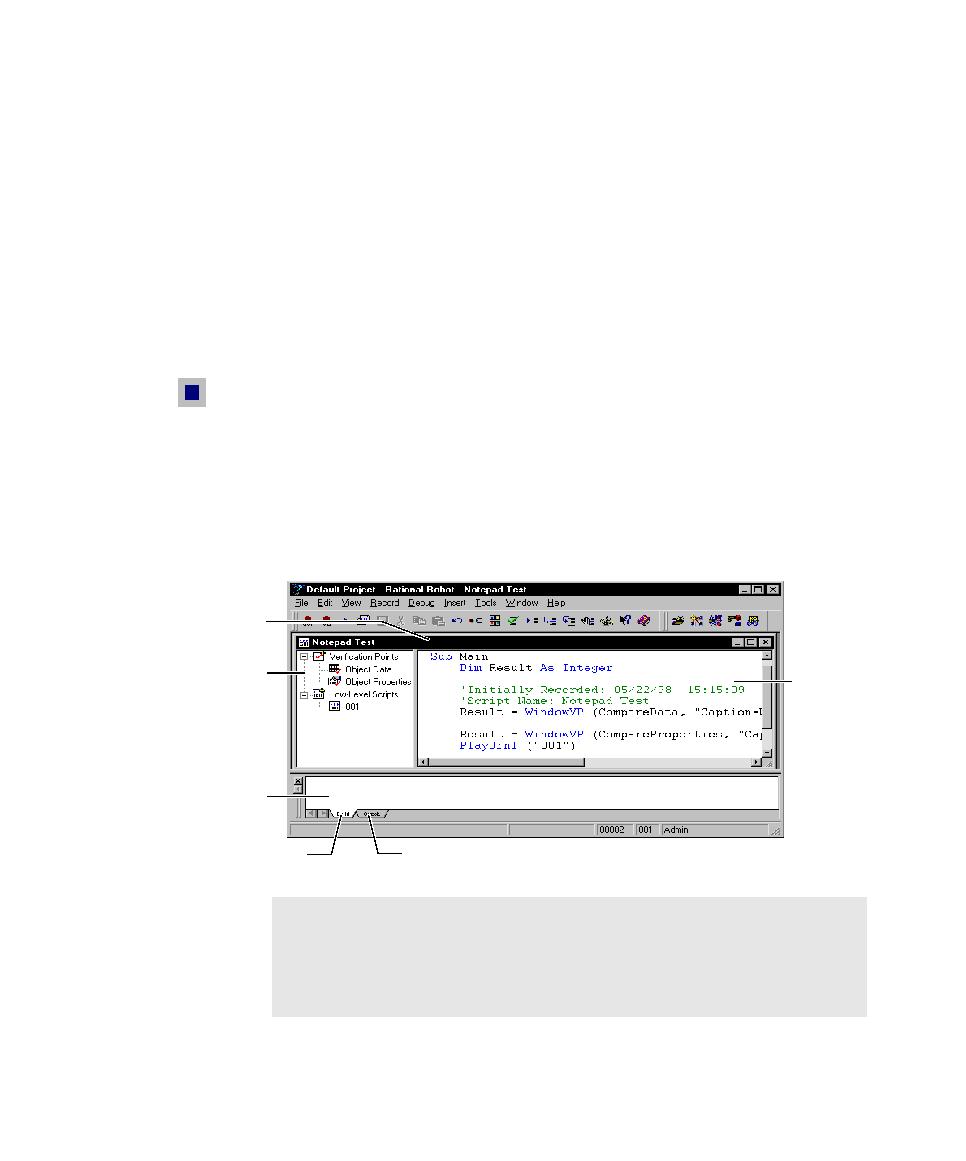
13. When finished, click the Stop Recording button on the GUI Record toolbar.
The Robot main window appears as follows:
­
The script that you recorded appears in a Script window within the Robot
main window.
­
The verification points and low-level scripts in the script (if any) appear in
the Asset pane on the left.
­
The text of the script appears in the Script pane on the right.
NOTE: The Build tab of the Output window shows compilation results
when you compile or play back a script. (For information, see Compiling
Scripts and SQABasic Library Source Files
on page 5-7.
) The Console tab of the
Output window is reserved for your messages. (For information, see the
SQABasic Language Reference.)
Asset pane
Output window
Script pane
Script window
Console tab
Build tab