Starting to Create a Verification Point
Tasks Associated with Creating a Verification Point
4-7
Starting to Create a Verification Point
The following is the basic procedure for starting to create a verification point:
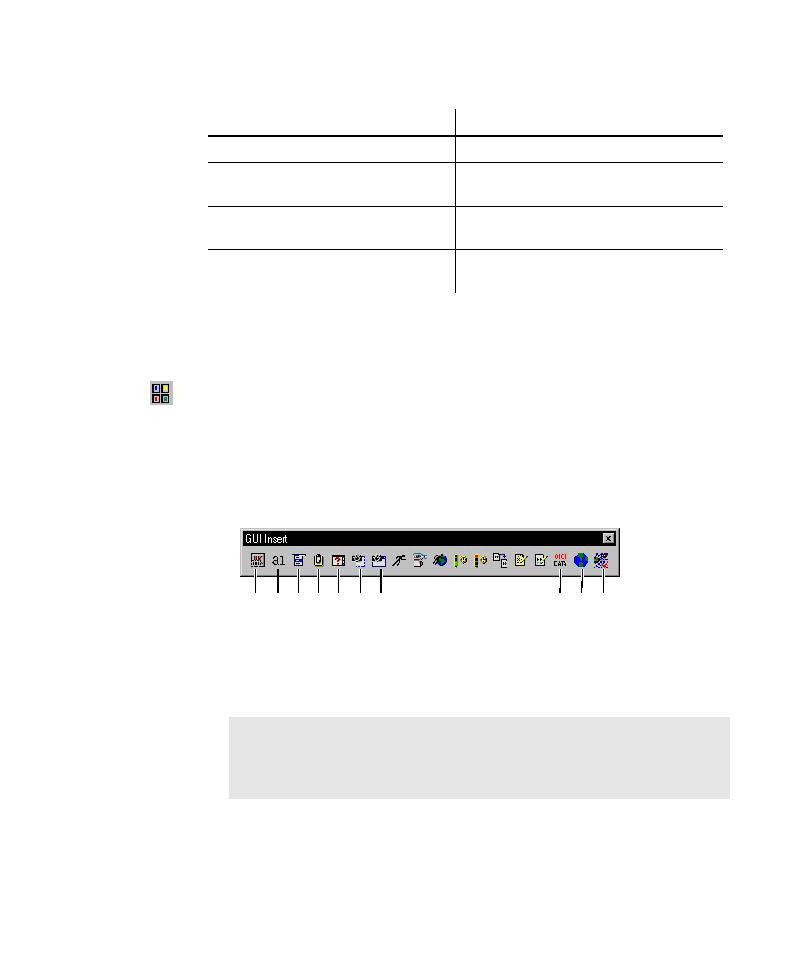
1. Do one of the following:
If recording, click the Display GUI Insert Toolbar button on the GUI
Record toolbar.
If editing, position the pointer in the script and click the Display GUI Insert
Toolbar button on the Standard toolbar.
2. Click a verification point button on the GUI Insert toolbar.
6. Select an identification method.
7. Select the data or properties to test.
9. Edit the captured data (optional).
Task
See
O
bje
ct P
ro
pe
rtie
s
Alp
ha
nu
m
eric
M
en
u
Clip
bo
ard
W
ind
ow
Ex
iste
nc
e
Re
gio
n I
m
ag
e
W
ind
ow
Im
ag
e
O
bje
ct D
ata
W
eb
Sit
e S
ca
n
W
eb
Sit
e C
om
pa
re
NOTE: To insert a File Comparison, File Existence, or Module Existence
verification point, open the Robot window (click the Open Robot Window
button on the GUI Record toolbar). Click Insert > Verification Point and
the appropriate menu command.