Clicking verification point buttons
Inserting Verification Points
3-7
To insert a verification point while recording or editing a script:
1. Do one of the following:
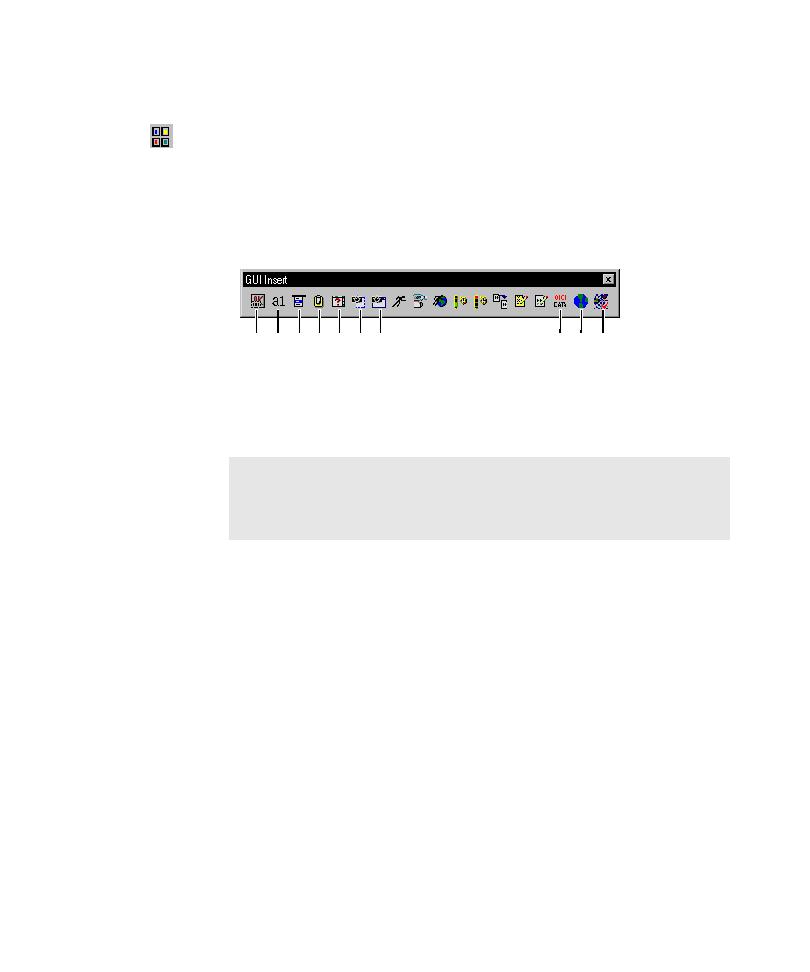
If recording, click the Display GUI Insert Toolbar button on the GUI
Record toolbar.
If editing, position the pointer in the script and click the Display GUI Insert
Toolbar button on the Standard toolbar.
2. Click a verification point button on the GUI Insert toolbar.
3. In the Verification Point Name dialog box, edit the name of the verification
point as appropriate.
Robot automatically names the verification point with the verification point
type, and adds a number if there is more than one of the same type in the script.
O
bje
ct P
ro
pe
rtie
s
Alp
ha
nu
m
eric
M
en
u
Clip
bo
ard
W
ind
ow
E
xis
ten
ce
Re
gio
n Im
ag
e
W
ind
ow
Im
ag
e
O
bje
ct D
ata
W
eb
Sit
e S
ca
n
W
eb
Sit
e C
om
pa
re
NOTE: To insert a File Comparison, File Existence, or Module Existence
verification point, open the Robot window (click the Open Robot Window
button on the GUI Record toolbar). Click Insert > Verification Point and
the appropriate menu command.
