Saving images
Lesson 3 · Running and Analyzing Tests
20
2 Confirm that all images are saved to the test results.
QuickTest allows you to determine when to save images to the test results.
In this lesson, all images should be saved to the test results.
Choose Tools > Options and select the Run tab. In the Save step screen
capture to test results option, select Always.
Click OK to close the Options dialog box.
3 Start running your test.
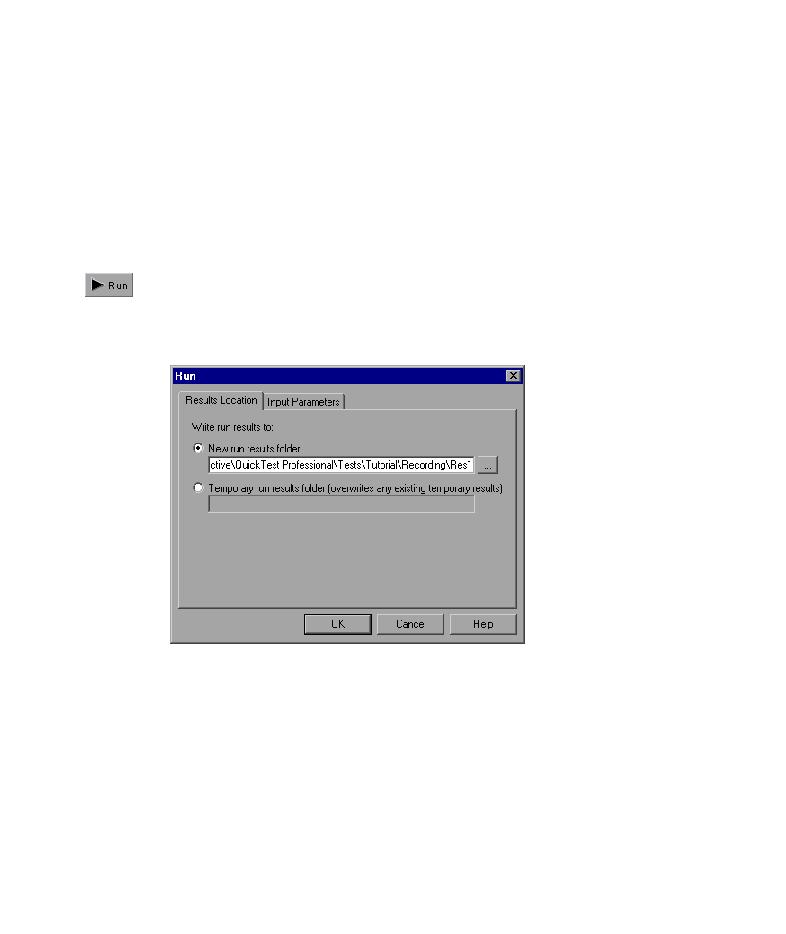
Click Run or choose Test > Run. The Run dialog box opens.
Select New run results folder. Accept the default results folder name.
Click OK to close the Run dialog box.
Watch carefully as QuickTest opens your browser and starts running the test.
In the browser, you can see QuickTest perform each step you recorded; a
yellow arrow in the left margin of the Keyword View indicates the step that
QuickTest is running.